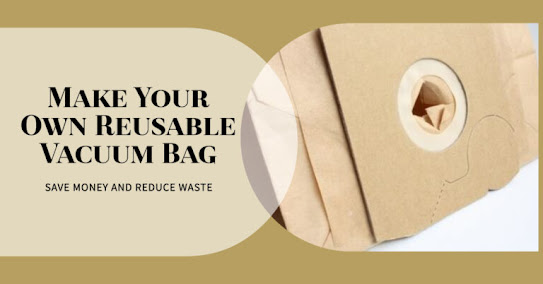
Best Guide DIY Reusable Vacuum Bag
Dive into our comprehensive guide on how to craft a "DIY Reusable Vacuum Bag". Save money and the environment with this eco-friendly alternative to disposable vacuum bags.
Vacuum cleaners are a household staple for most people, essential for keeping our living spaces clean and dust-free. Over time, the cost of replacing disposable vacuum bags can add up, and the environmental impact is also concerning. The solution? A DIY reusable vacuum bag! This guide will walk you through the steps to make your very own reusable vacuum bag, saving both your wallet and the planet.
Benefits of a DIY Reusable Vacuum Bag
Cost-Efficient: No more recurring costs for disposable bags.
Environmentally Friendly: Reduce waste and lessen your environmental footprint.
Customizable: Tailor the size and shape of your bag to fit your specific vacuum model.
Materials Needed
Dense fabric material: A cloth that can trap dust and debris without letting it escape, such as HEPA fabric or another non-woven material.
A zipper or Velcro strip: For sealing and unsealing the bag.
Thread and needle: For sewing the bag together. Using a sewing machine is preferred, but hand sewing works as well.
Steps to Create Your DIY Reusable Vacuum Bag
Measure and Cut: First, measure your vacuum's current disposable bag to determine the size of the reusable bag. Cut the fabric accordingly, leaving an extra inch or so for the seams.
Shape the Bag: Depending on your vacuum model, you might want a flat bag or a more cylindrical shape. Fold the fabric in the desired shape, ensuring that all edges meet.
Sew the Seams: Begin sewing the sides of the bag, making sure to leave one end open for the zipper or Velcro strip. Double-stitch for added durability.
Attach the Zipper or Velcro: Sew the zipper or Velcro strip to the open end, ensuring a tight seal when closed. This will ensure dust and debris stay inside the bag during use.
Test the Bag: Before using the bag in your vacuum, turn it inside out and check for any holes or weak seams. Make any necessary adjustments.
Insert and Use: Fit the DIY reusable vacuum bag into your vacuum cleaner, ensuring it sits securely and the opening aligns with the vacuum's intake. You're now ready to use it!
Maintenance
To ensure the longevity and efficiency of your DIY reusable vacuum bag, make sure to:
Empty Regularly: After every few uses, empty the bag of its contents to ensure maximum suction from your vacuum.
Wash Occasionally: Hand wash or machine wash (on a gentle cycle) the bag occasionally to remove any lingering dust or allergens. Make sure the bag is thoroughly dry before using it again.
Conclusion
Creating a DIY reusable vacuum bag is a straightforward process that not only saves you money but also contributes positively to the environment. With a little time and effort, you can have a long-lasting, effective solution to your vacuum cleaning needs.

Comments
Post a Comment